
Overview
Personas help you tailor experiences to specific user types. This guide explains how to create a new persona, define its attributes, and ensure it is available for use across the website in the DXP.
Prerequisites
Before creating a persona, make sure you have:
- The appropriate DXP admin permissions
- A clear understanding of the audience segment this persona represents
*Please note: to set up the Persona correctly, you need to follow all the steps described in this article.
| STEP 1: Navigate to the Persona Management Area in the DXP |
|---|
See screenshot below of the DXP Persona view.
|
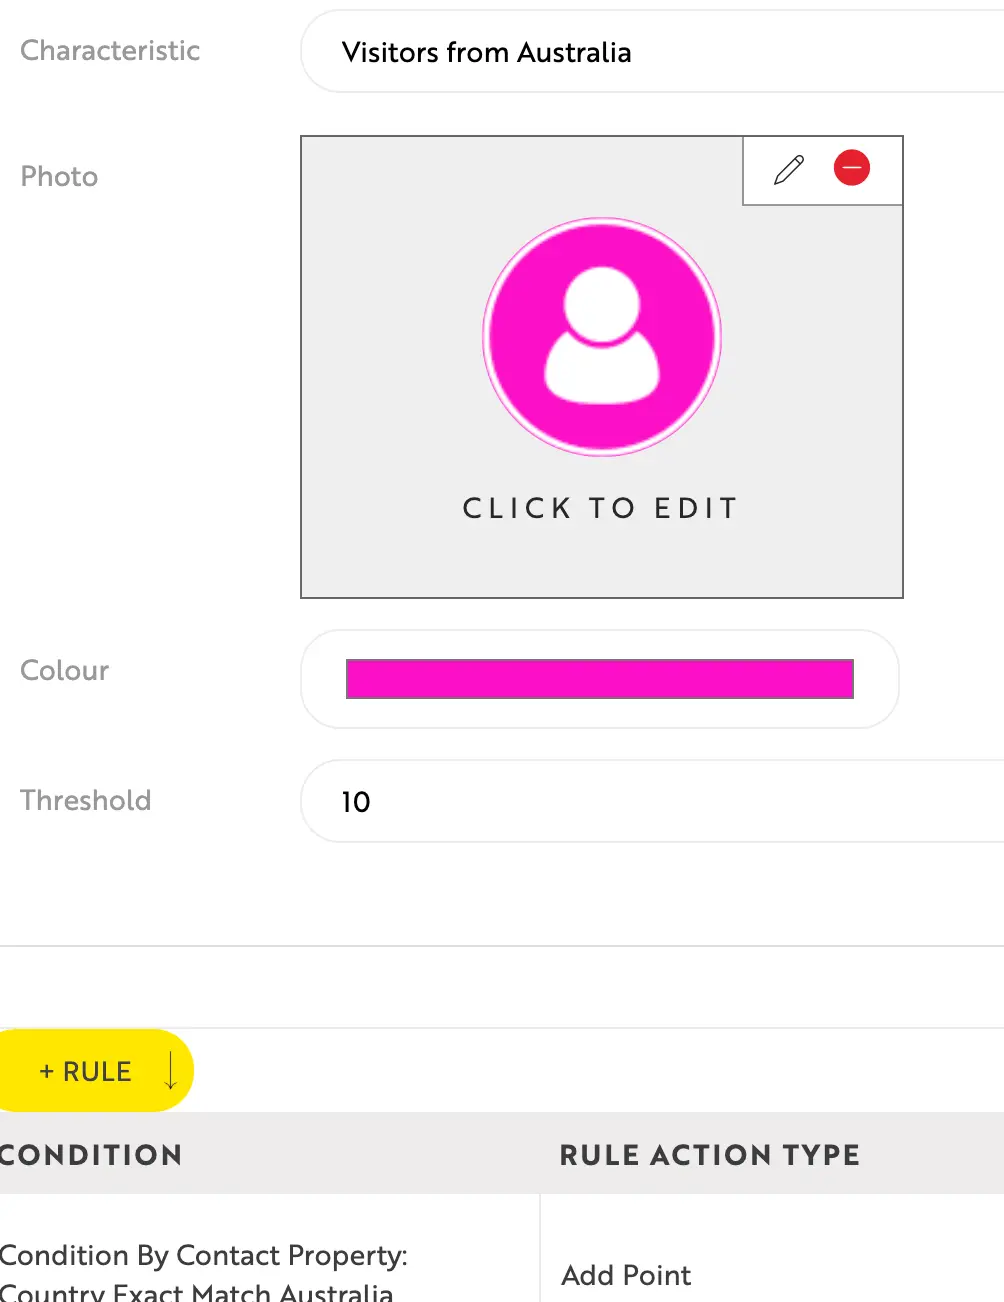
| STEP 2: Enter Basic Persona Details |
|
Fill in the core information:
See screenshot below of where to enter the persona details:
|
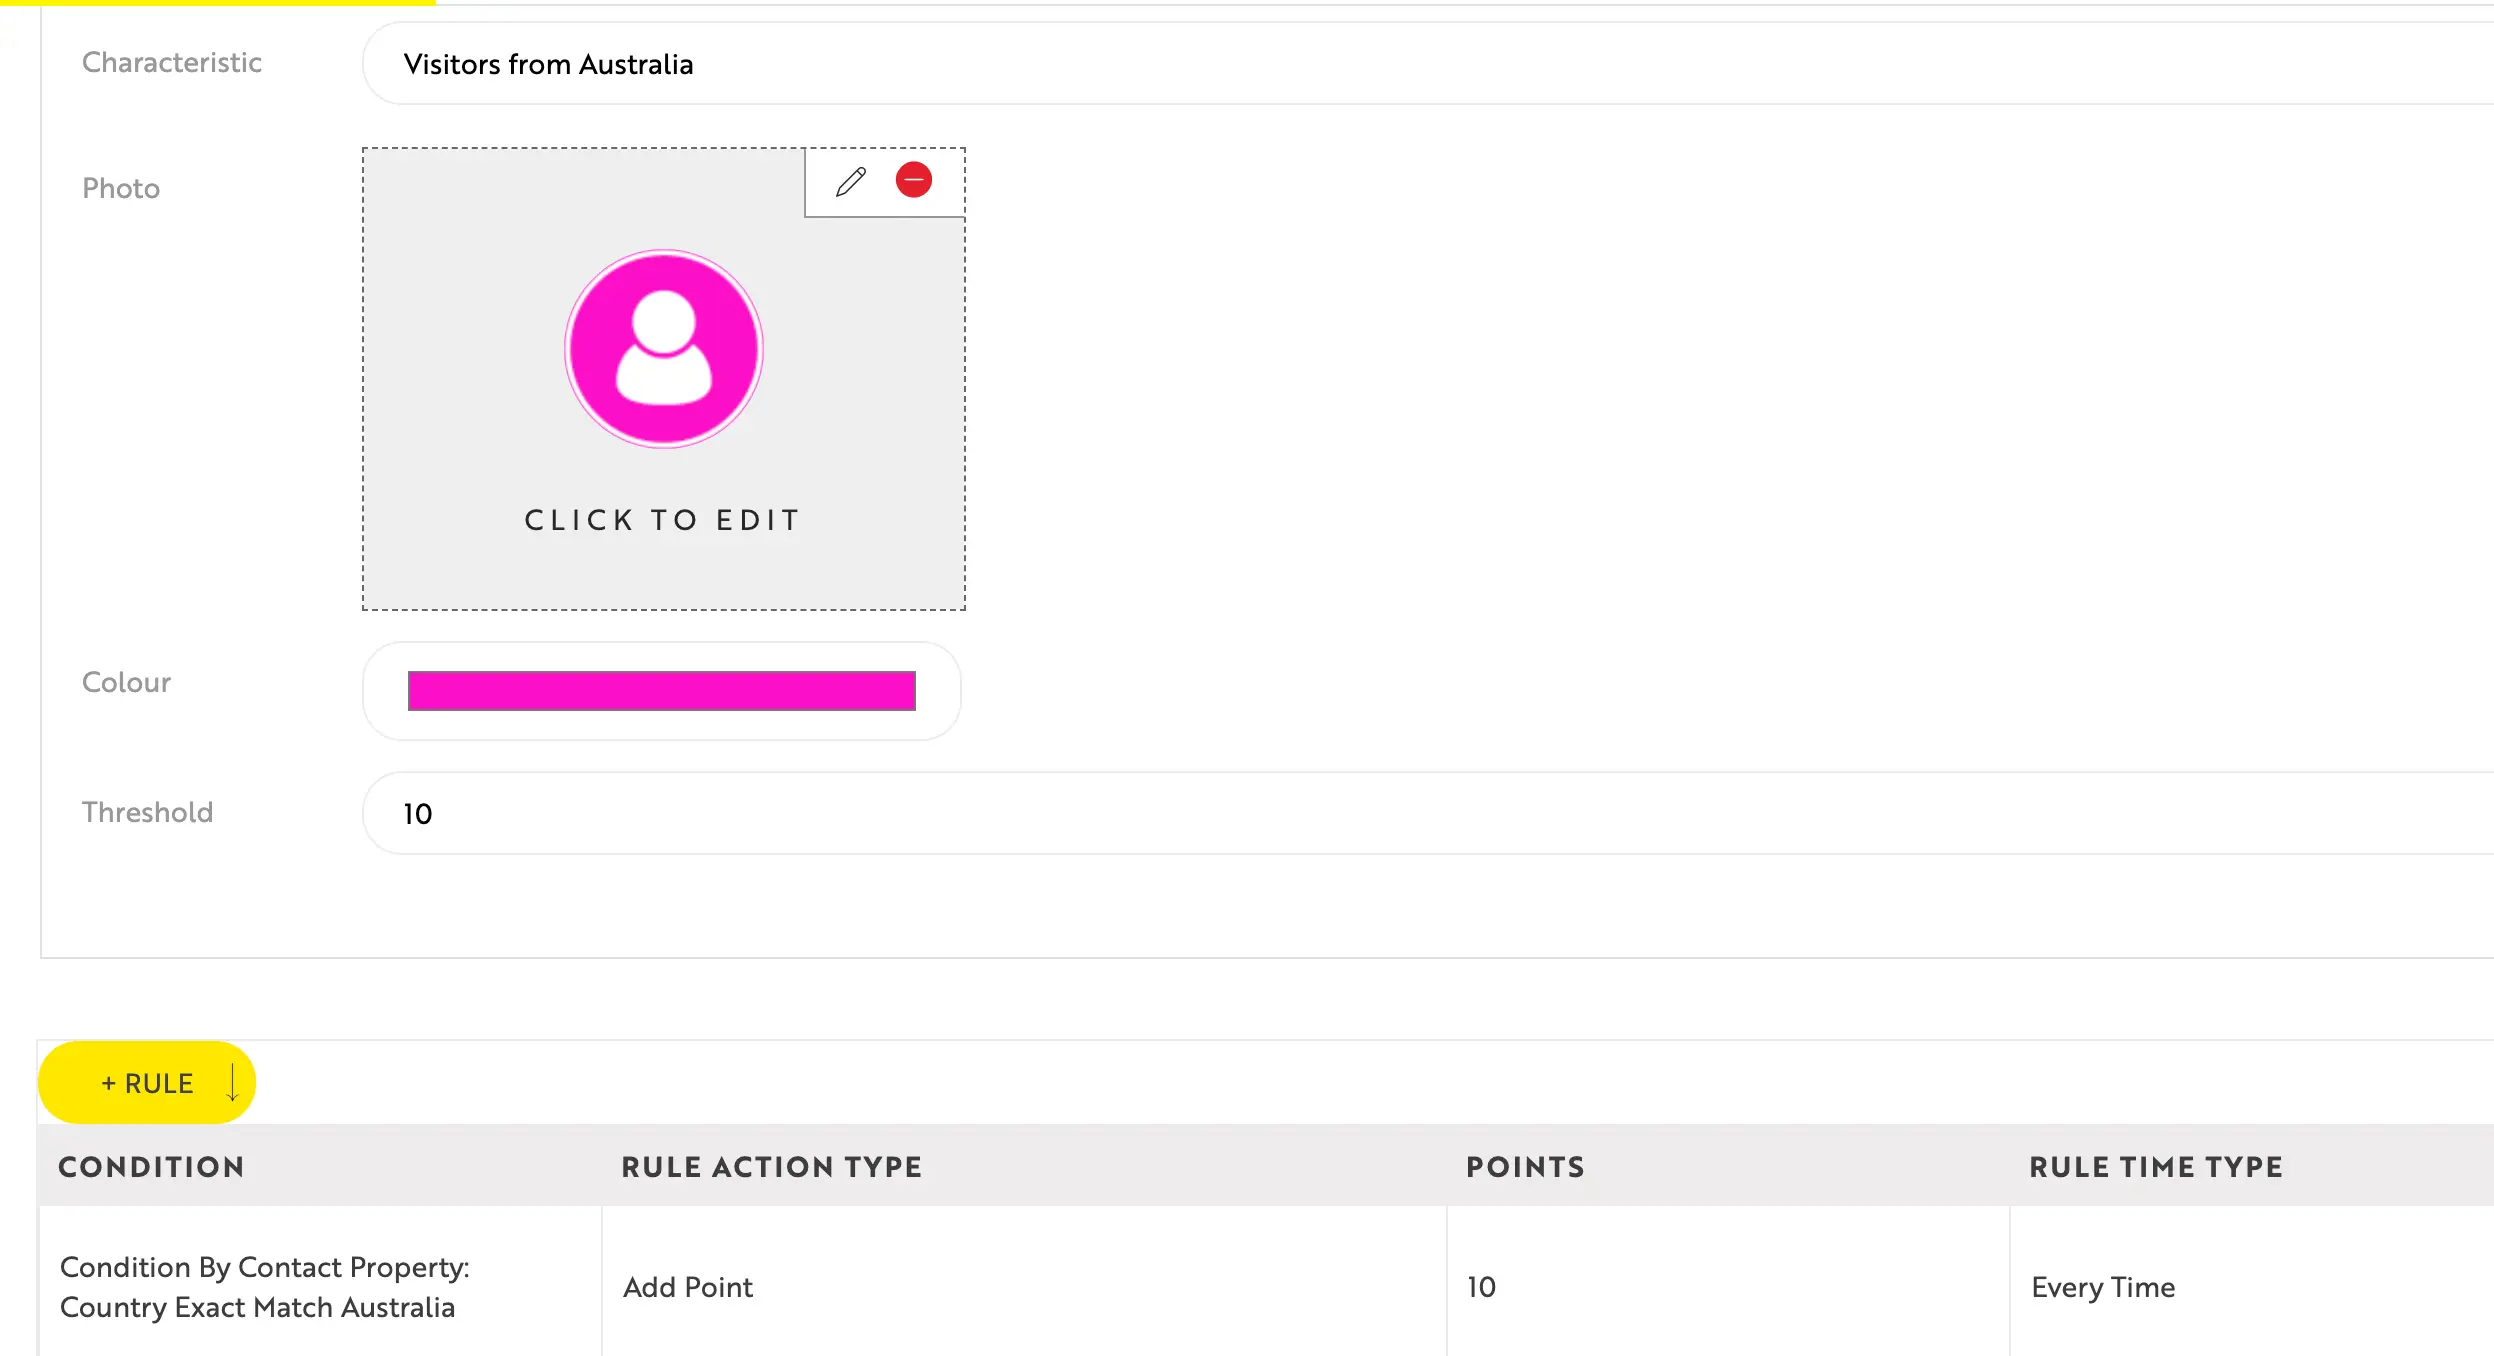
| STEP 3: Define Demographics & Add Rules |
|
Configure the audience criteria by adding rules such as:
Save each rule and confirm the logic is correct. These rules help ensure the persona is assigned accurately and behaves as expected across the website. See screenshot below for an example of rule configuration.
|
| STEP 4: Add Specific Forms |
|
If forms are used to identify or qualify personas, you can set up form-based rules. Common examples include: Enquiry Forms, Contact Us Forms, Application Forms and any other UBIQ form (please note: Embedded and other external forms can track DATA in the DXP) To configure form-related rules:
Save each rule and confirm the logic is correct. See screenshot example below:
|
| STEP 5: Save & Publish |
If you want help defining persona templates, please do reach out to your Experience Director for further support. |


Discover more


ONGOING SUPPORT
Need help with anything else?
If you can’t find the answer you’re looking for in our Knowledge Base, there are three ways you can get support: